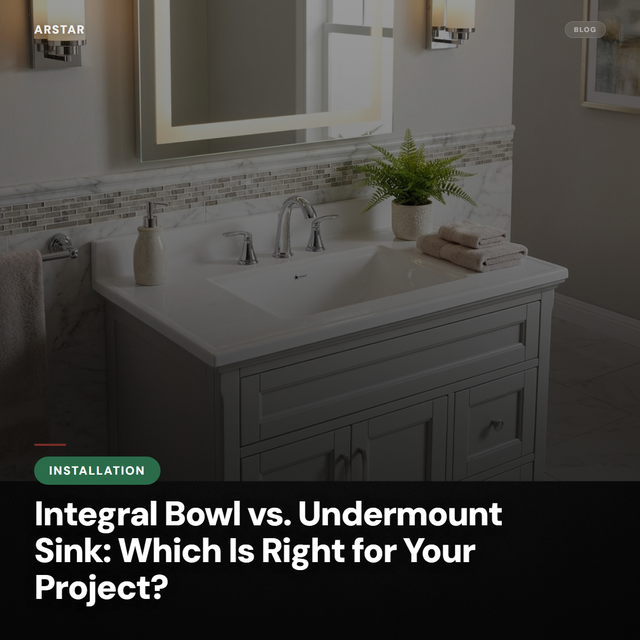
Before You Begin: Pre-Installation Checklist
A successful cultured marble vanity top installation starts well before you pick up any tools. Proper preparation prevents the most common installation problems — uneven surfaces, misaligned plumbing, and silicone failures that lead to water damage.
Run through this checklist before your installation day:
- Verify dimensions: Confirm that the vanity top dimensions match your cabinet. Measure the cabinet width, depth, and check that it is level in both directions.
- Check plumbing rough-in: Ensure water supply lines and drain positioning align with the vanity top's bowl location. For double-bowl configurations, verify center-to-center spacing matches.
- Inspect the vanity top: Unpack and inspect for shipping damage before installation day. Check the gel coat surface for cracks, chips, or blemishes.
- Gather materials: You will need 100% silicone caulk (color-matched), a level, shims, a wrench set for plumbing connections, and plumber's putty for drain assemblies.
- Clear the workspace: Remove the old vanity top (if applicable), clean the cabinet top surface, and ensure adequate access for installation.
Tools You Will Need
- Level (24" minimum, 48" preferred)
- 100% silicone adhesive/caulk (not latex or acrylic — must be 100% silicone)
- Caulk gun
- Shims (composite or plastic, not wood — wood absorbs moisture)
- Adjustable wrench and pliers for plumbing
- Plumber's putty
- Clean rags and denatured alcohol for surface prep
- Tape measure
- Pencil for marking
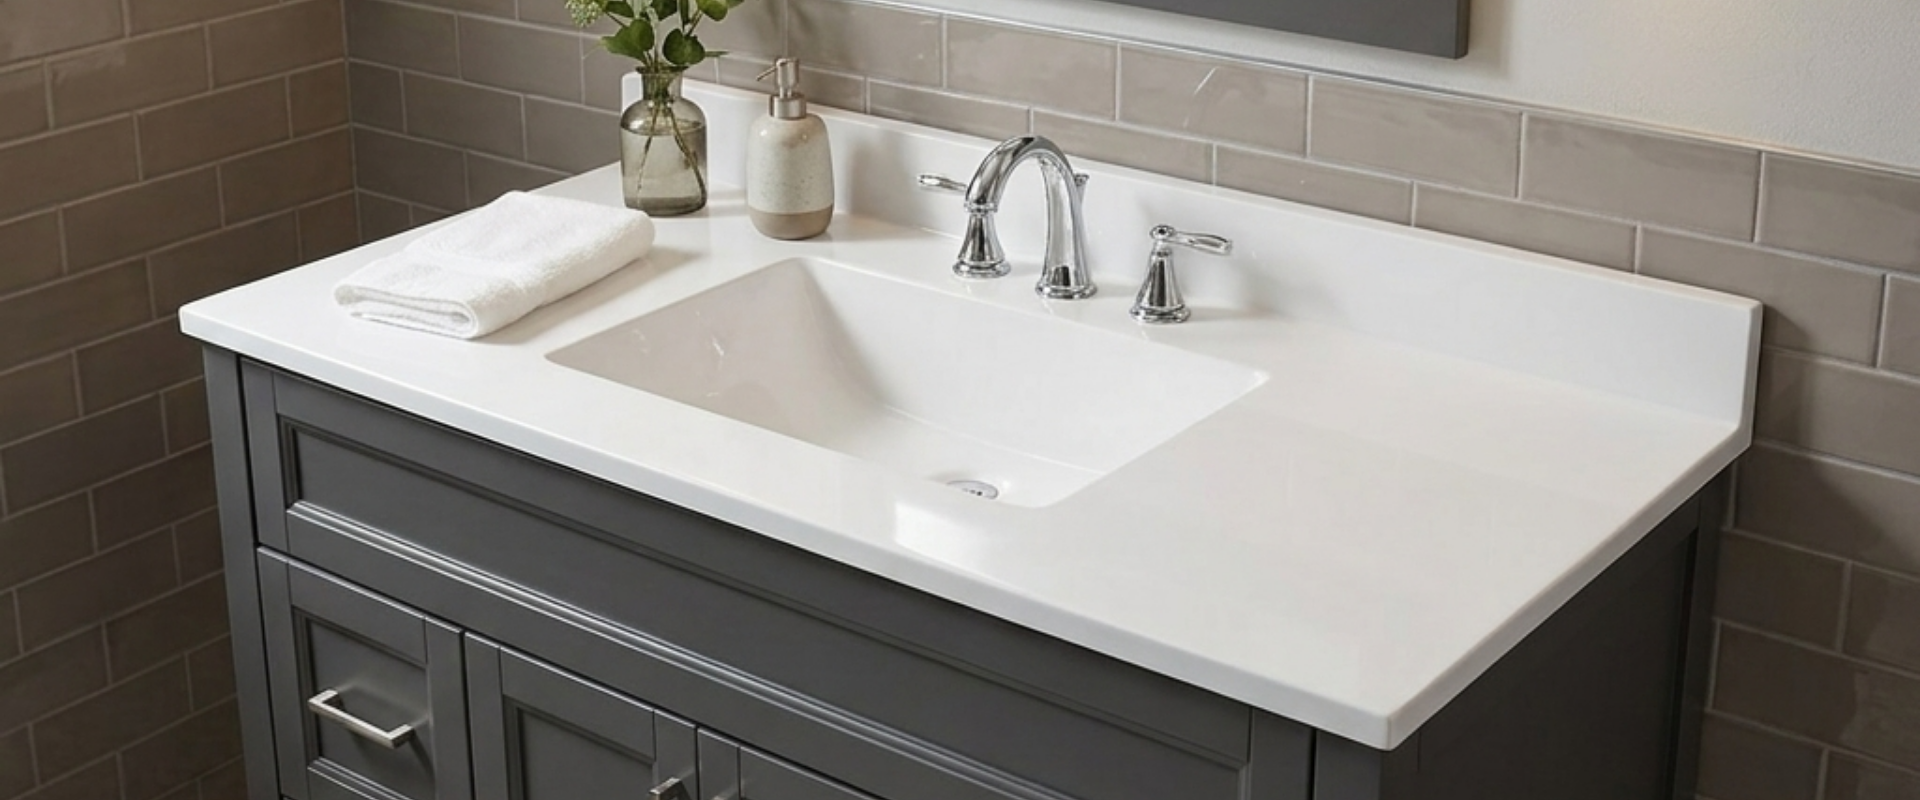
Step-by-Step Installation
Step 1: Dry Fit
Place the vanity top on the cabinet without any adhesive. This is your chance to verify fit, check alignment, and identify any issues before committing:
- Check that the top sits flat on the cabinet with no rocking or gaps
- Verify that the backsplash sits flush against the wall
- Confirm that the bowl aligns with the drain and supply line positions
- Check overhang on all sides — it should be consistent
If the top rocks, identify the high point on the cabinet and shim the low points rather than trying to sand down the cabinet.
Step 2: Level the Cabinet
Place a level on the cabinet top (not the vanity top) in both directions — side to side and front to back. The cabinet must be level before setting the vanity top:
- Use composite shims under the cabinet legs to correct any unevenness
- Check levelness at the front, back, and middle of the cabinet
- Secure the cabinet to the wall studs with screws through the back rail once level
A vanity top set on an unlevel cabinet will develop stress points over time, potentially leading to cracks near the bowl or along the backsplash joint.
Step 3: Apply Silicone
Run a continuous bead of 100% silicone adhesive along the top edges of the cabinet frame. Also apply a bead along the back wall where the backsplash will make contact:
- Use a generous but not excessive bead — about 3/8" diameter
- Apply to all cabinet frame rails and any cross-supports
- Do not use construction adhesive, liquid nails, or latex caulk — only 100% silicone provides the flexibility cultured marble needs to expand and contract with temperature changes
Step 4: Set the Vanity Top
Carefully lower the vanity top onto the cabinet. Cultured marble vanity tops are heavier than they look — a 49" double-bowl top can weigh 60–80 pounds. Use two people for tops wider than 37":
- Lower evenly from above — do not slide the top into position, as this can smear the silicone and create gaps
- Press down firmly to seat the top into the silicone
- Check level again and adjust with shims if needed
- Push the backsplash firmly against the wall
- Wipe away any silicone squeeze-out immediately with a rag dampened with denatured alcohol
Step 5: Connect Plumbing
With the vanity top set and level, connect the plumbing:
- Install the faucet and drain assembly according to the faucet manufacturer's instructions
- Use plumber's putty (not silicone) under the drain flange for a watertight seal
- Connect water supply lines — hand-tighten plus a quarter turn with a wrench
- Connect the P-trap and drain assembly
- Turn on water and check all connections for leaks
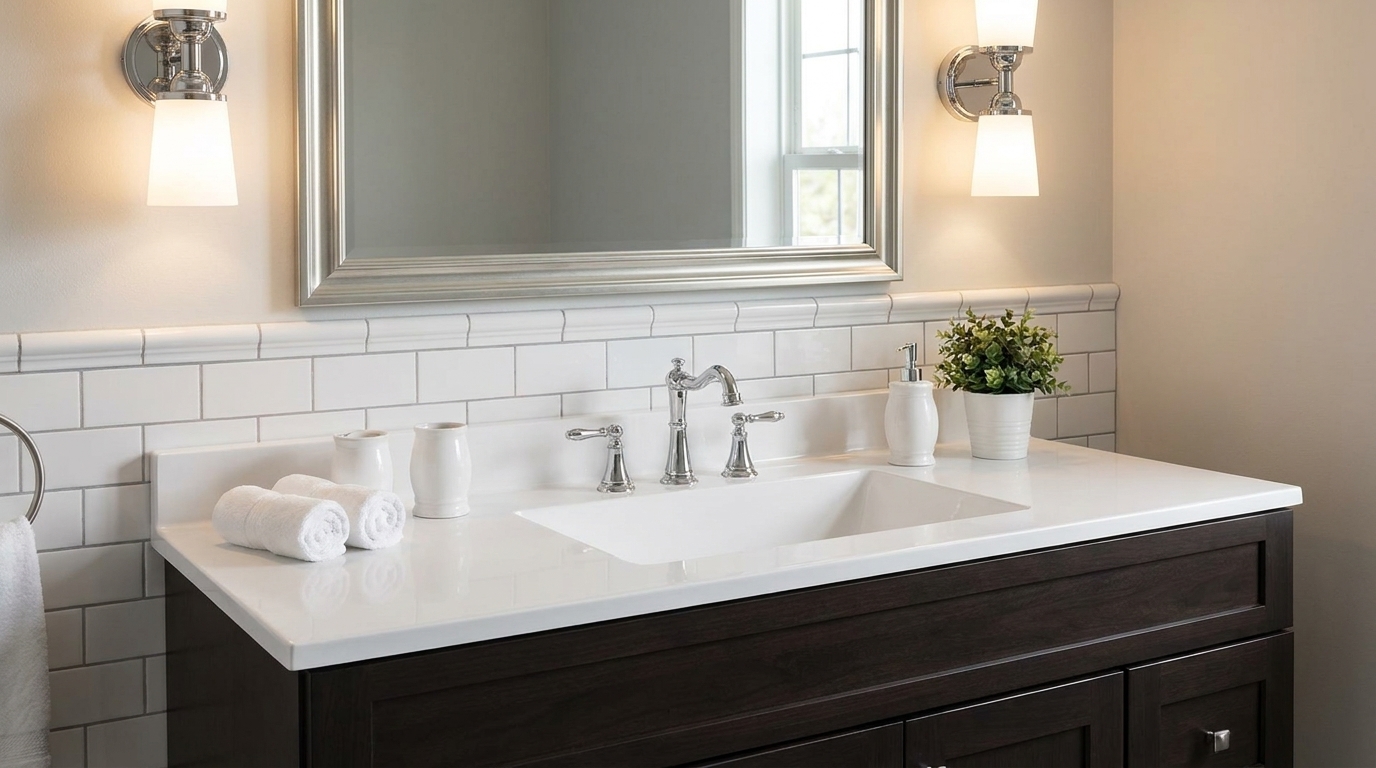
Step 6: Seal the Backsplash
Apply a neat bead of color-matched silicone caulk along the top edge of the backsplash where it meets the wall. This prevents water from running behind the vanity top:
- Use painter's tape above and below the caulk line for a clean edge
- Apply a consistent bead and smooth with a wet finger or caulk tool
- Remove tape immediately after smoothing, before the caulk skins over
Common Mistakes to Avoid
- Using the wrong adhesive: Construction adhesive bonds permanently and does not allow for movement. Cultured marble expands and contracts slightly with temperature — 100% silicone is the only appropriate adhesive.
- Skipping the dry fit: Discovering a fit problem after applying adhesive wastes time and materials.
- Not leveling the cabinet: This is the number one cause of stress cracks in cultured marble vanity tops.
- Over-tightening plumbing connections: Cultured marble is strong but not as rigid as stone. Over-tightening drain assemblies or faucet nuts can crack the surface around the openings.
- Ignoring the backsplash seal: An unsealed backsplash allows water to wick behind the vanity top, causing mold and wall damage over time.
Backsplash and Side Splash Installation
If your vanity top includes separate backsplash or side splash pieces (rather than an integrated backsplash), attach them with silicone:
- Apply a bead of silicone to the back edge of the vanity top where the backsplash will sit
- Press the backsplash into place and hold for 30 seconds
- Support with painter's tape until the silicone sets (24 hours)
- Seal the joint between backsplash and wall after the adhesive cures
For detailed manufacturer installation guides specific to your product, visit our installation resources page. For vanity top selection, explore our full vanity top collection.
Questions About Installation?
If you encounter any issues during installation or need guidance on a specific configuration, contact ARSTAR. Our technical support team can help troubleshoot and ensure your installation goes smoothly.